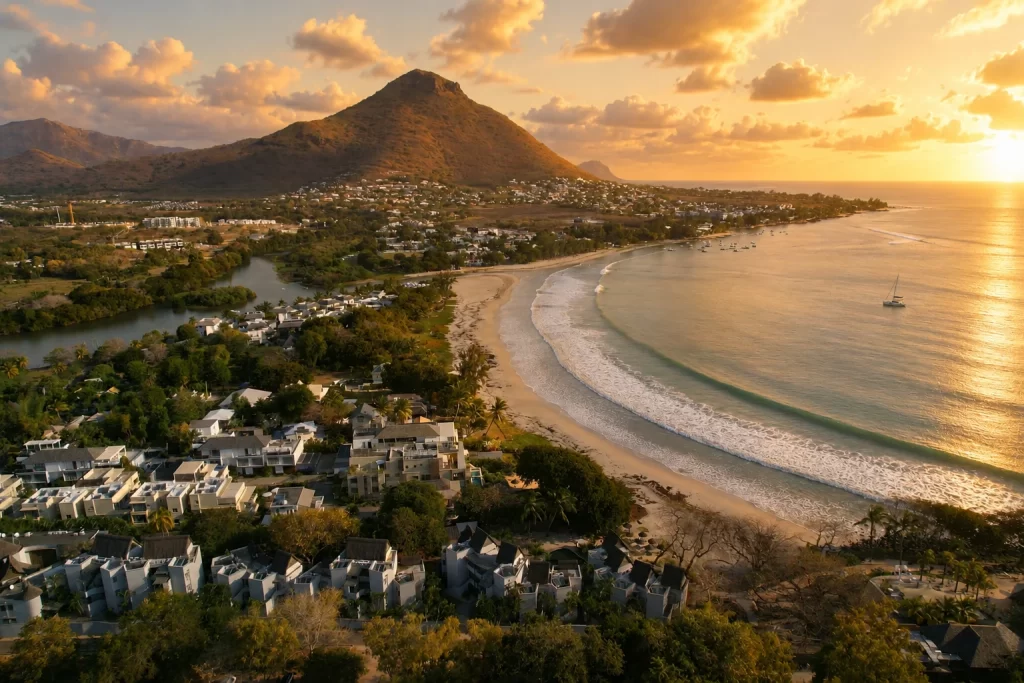
So, you were born outside the paradise island of Mauritius. Perhaps in a cold, rainy city in Europe, or amidst the bustle of North America. But your parents are Mauritian, which means you are Mauritian. You have the DNA of the dodo (metaphorically speaking, please don’t go extinct), the rhythm of the Sega in your soul, and an inexplicable craving for dholl puri.
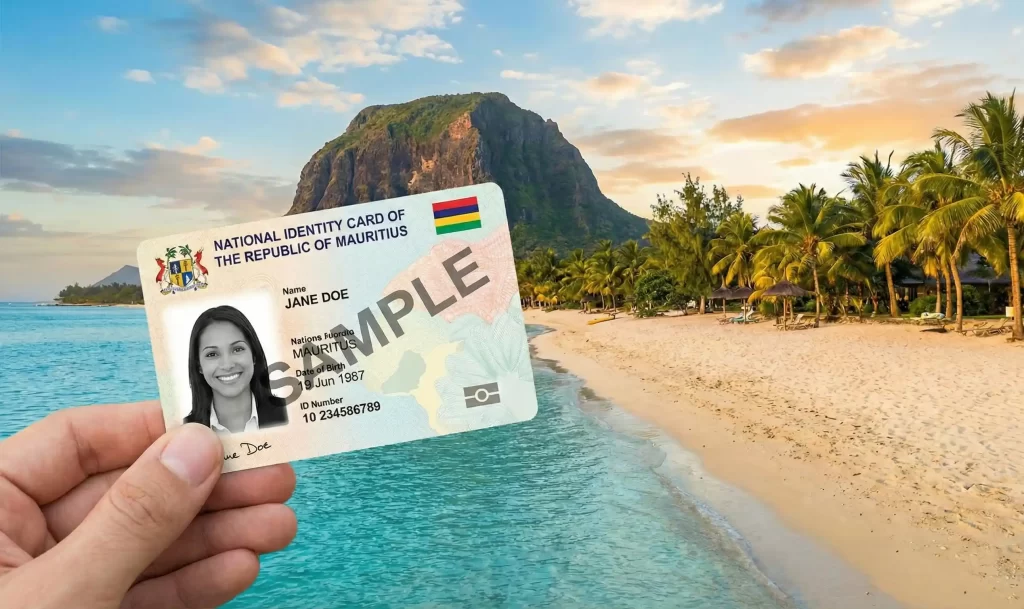
But there is one thing missing. The Golden Ticket. The Holy Grail of local existence. The plastic proof that you belong: The Mauritian National ID Card.
If you qualify for citizenship through your parents, getting your Mauritian National ID When You Were Born Abroad is the final step in claiming your heritage. However, if you have never tangled with Mauritian paperwork before, you might find it slightly more complex than ordering a takeaway. It involves specific offices, specific stamps, and specific times of day to avoid the “lunch hour” void.
Fear not. This guide is your Sherpa up the mountain of administration. We are going to break down the whole process into an easy, friendly, and stress-free journey. Whether you are here on holiday, planning to move, or just want to show off your dual citizenship at parties, read on.
Contents
Why Do You Even Need This ID?
Before we dive into the “how,” let’s talk about the “why.” You might be thinking, “I have a passport, isn’t that enough?”
Well, yes and no. In Mauritius, the National ID card is king. You need it for everything. Opening a bank account? ID card. Buying a SIM card? ID card. Proving you are eligible for the “local” price at tourist attractions instead of the “tourist” price? Definitely ID card. It is the key that unlocks the island. Plus, it is a great souvenir that doesn’t take up space in your luggage.
If you are planning to stay longer, perhaps looking at Mauritius rent prices in 2025, having this card will make your administrative life infinitely easier.
Phase 1: The Scavenger Hunt (Documents)
The first rule of Mauritian bureaucracy: Come Prepared. Do not show up with half your documents hoping for a sympathetic smile. The officers are efficient, but they follow the rules. If a paper is missing, you will be sent back to the start of the board game.
Here is what you need to gather before you even think about heading to Port Louis.
1. Your Identification
- Your Valid Passport: It can be your foreign passport or a Mauritian one if you already have it. Just make sure it hasn’t expired in 2012.
2. Birth and Family Documents
This is where you need to raid your parents’ safety deposit box.
- Your Own Birth Certificate: The full version, please. No “short” certificates that barely mention you exist.
- Parents’ Birth Certificates: You need the birth certificates for both your Mauritian-born parents.
- Marriage Certificates:
- If your parents are married, bring their marriage certificate.
- If you are married, bring your marriage certificate. (If you got married in Mauritius, the local one. If abroad, the foreign one).
3. The Magical “Revenue Stamp”
This is a classic piece of Mauritian vintage bureaucracy. You cannot just pay cash at the desk for some things; you need a 25 MUR Revenue Stamp on every certified document.
- What is it? It looks like a postage stamp, but it commands authority.
- Where to buy it? Any local Post Office. Find a Post Office here. Buy a handful. It is better to have too many than too few.
4. Certification: The Stamp of Approval
Your photocopies need to be “Certified True Copies.” You can’t just run them through your home printer and hope for the best.
- Where to go: You can head to the Emmanuel Anquetil Building in Port Louis or the Florian View Office (which is often faster, pro tip!).
- The Rule: You need recently issued certificates (usually within the last 3 months). If your birth certificate looks like an ancient scroll from the 1800s, get a fresh one issued first.
5. Proof of Address
You need to prove you live somewhere.
- Evidence of your address abroad.
- Evidence of your current address in Mauritius. If you are staying at a hotel or with family, a utility bill from the host (plus a letter from them) or an official letter from the hotel will suffice.
Phase 2: The Prime Minister’s Office (PMO)
Now that you have your folder of destiny (Folder 1: Originals, Folder 2: Photocopies), it is time to head to the Prime Minister’s Office. Yes, you are going straight to the top.
The Location
The PMO is in the heart of Port Louis. It is the building that radiates serious government energy.
- Location: Google Maps Link
- Parking: Port Louis parking is a competitive sport. We recommend Luna Park (Map Link). It is convenient and saves you from circling the block for forty minutes. If you prefer public transport, check our Mauritius Metro Guide to glide into the city stress-free.
Entering the Fortress
- The Gate: Tell the security officer you are there for the “Mauritian National ID born abroad” application. They will nod sagely.
- The Police Desk: Register as a visitor. You will need to leave an ID (driving license works) or at least show your passport. Provide your Mauritian mobile number and local address.
- The Lift: Take the lift to the 4th Floor.
- Reception: The reception desk will direct you. Smile, be polite. A “Bonjour” goes a long way.
The Interview (It’s Not Scary)
You will sit with an officer who will check your eligibility. This is Step 1: File Verification. They will look at your originals, nod at your photocopies, and check your stamps. If everything is in order, they will return your originals and keep the photocopies.
Crucial Note: You do not get the ID today. This is just the application to apply. You will be told to wait for approval, which usually takes 2 to 3 working days. Go enjoy the beach. Maybe visit Belle Mare Beach while you wait.
Phase 3: The ID Office (The Final Boss)
Once your approval comes through (usually via phone or you are told a specific date to return), you need to go to the National Identity Card Office in Port Louis.
- Location: Google Maps Link
- Timing: The approval is valid for 5 working days. Do not procrastinate.
The Strategy
Arrive early. We are talking 8:30 AM. The queue can get long, and you don’t want to spend your holiday staring at the back of someone’s head.
- The Ticket: Take a numbered ticket.
- The Seat: Sit. Wait for your number. Practice your Creole vocabulary using our lessons page.
- The Counter: When called, tell them you are a citizen born abroad approved by the PMO. They will check the list.
- Side Quest Failure: If your name isn’t on the list, you have to go back to the PMO. Do not pass Go, do not collect $200. This is why you bring all originals again, just in case.
The Biometrics
Assuming you are on the list, this is where it gets real.
- Scan: They scan your documents.
- Photo: They take your photo. Try to look neutral but happy. This image will haunt you for years.
- Fingerprints: They capture your prints.
- Signature: You sign the digital pad.
- Collection Point: You get to choose where to pick it up (Port Louis, Rose Hill, or Flacq). Choose the one closest to where you are staying.
You will receive a large A4 receipt. Treat this piece of paper like gold. Take a photo of it immediately. If you lose it, you are in for a bad time.
Phase 4: Collection (Victory!)
The ID usually takes up to 5 working days to be printed. Collection often starts from 2 PM.
Head to your chosen collection center:
Bring your receipt and your passport. Walk in a commoner, walk out a documented citizen. Congratulations!
Bonus DLC: The Mauritian Passport
Since you have survived the ID process, why stop there? You can now apply for a Mauritian passport. It is a powerful travel document and looks very cool.
Where: The main passport office is at Stirling House in Port Louis (Map). You can also do this at Rose Hill or Flacq Police Stations, but Stirling House is the HQ.
The Loot Required:
- Your shiny new National ID.
- Your Birth Certificate.
- Two recent passport photos (different from the ID one).
- 700 MUR in CASH. (They generally do not like cards).
- Old passport (if you are renewing, which you probably aren’t if you just got your ID).
Timing: Monday to Friday (08:45 – 14:30) and Saturday (08:45 – 11:30). Avoid lunch hours like the plague.
Pro Tips for a Stress-Free Experience
We want you to succeed in getting your Mauritian National ID When You Were Born Abroad, so here are some insider tips:
- The Lunch Hour Gap: Between 12:00 and 13:00, productivity in administrative offices can slow down significantly. It is the sacred lunch hour. Avoid visiting during this window unless you enjoy sitting in empty waiting rooms.
- Dress Code: While there is no strict tuxedo requirement, it is a government office. Maybe skip the bikini top or the sleeveless singlet. Smart casual is the way to go.
- Hydration: Port Louis is hot. Bring water.
- Patience: Things move at “island time” occasionally. If the system goes down or the queue moves slowly, take a deep breath. You are in Mauritius, after all.
Summary Checklist
- [ ] Verify eligibility (parents are citizens).
- [ ] Gather originals (Passports, Birth Certs, Marriage Certs).
- [ ] Buy Revenue Stamps (Post Office).
- [ ] Certify copies (Emmanuel Anquetil).
- [ ] Visit PMO (4th Floor) for approval.
- [ ] Wait for approval (2-3 days).
- [ ] Visit ID Office (Port Louis) for biometrics.
- [ ] Collect ID (5 days later).
- [ ] Celebrate with a Phoenix beer (optional but recommended).
Getting your Mauritian National ID When You Were Born Abroad is a rite of passage. It connects you to your roots and gives you a tangible piece of the island to carry with you. Plus, next time you visit, you can breeze through the “Mauritian Citizens” line at the airport.
Now that you are officially official, you might want to look into other long-term options like the Occupation Permit if you plan on working here, or perhaps just read our Ultimate Guide to Mauritius to plan your victory lap around the island.
Disclaimer: This guide is based on publicly available information at the time of writing. Procedures, required documents, and office rules in Mauritius may change faster than the weather in Curepipe. Always confirm with the Prime Minister’s Office or relevant government authorities before you visit.
External Resources:
Prime Minister’s Office Location